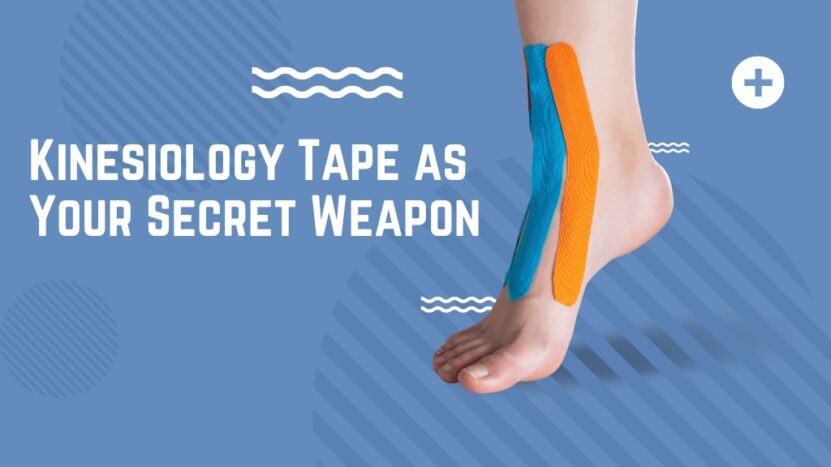
Ankle injuries are a common occurrence in sports, fitness, and daily life. When these injuries occur, one of the most effective ways to support your ankle and speed up recovery is by using kinesiology tape. This colorful, stretchy tape has gained popularity in recent years thanks to its numerous benefits, including pain reduction, improved circulation, and enhanced joint stability. In this comprehensive guide, we will teach you how to strap an ankle with kinesiology tape to optimize your recovery and performance.
How Kinesiology Tape Works
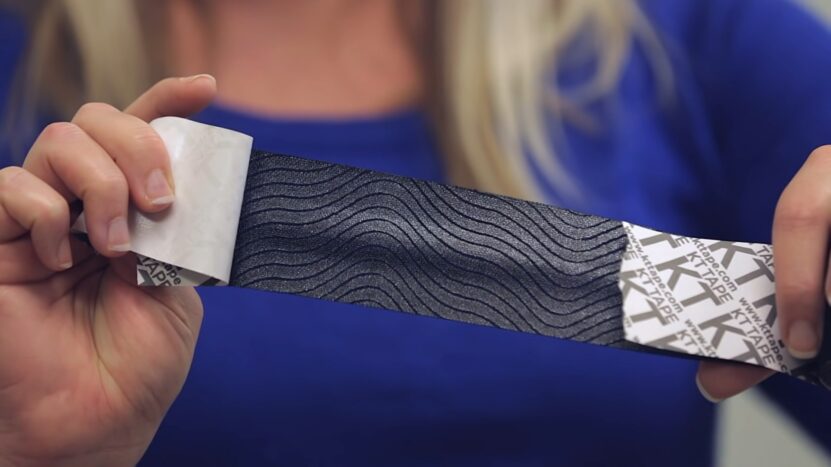
Kinesiology tape, also known as KT tape or elastic therapeutic tape, is an elastic adhesive tape made from a combination of cotton, spandex, and a medical-grade adhesive. Unlike traditional athletic tape, kinesiology tape allows for a full range of motion as it stretches in response to muscle movement. This feature enables athletes to continue training while wearing the tape, making it a popular choice for injury prevention and rehabilitation.
Benefits of Using Kinesiology Tape for Ankle Injuries
There are several benefits to using kinesiology tape for ankle injuries, including:
- Pain reduction: The tape gently lifts the skin, creating space between the skin and the underlying tissue, which reduces pressure on pain receptors.
- Improved circulation: The lifting effect also improves blood flow, helping to reduce inflammation and promote faster healing.
- Enhanced joint stability: Kinesiology tape provides external support to the ankle joint, improving proprioception and joint stability.
- Reduced muscle fatigue: By supporting the muscles and enhancing circulation, the tape can help reduce muscle fatigue and improve performance.
Identifying Ankle Injuries That Benefit from Kinesiology Tape
This tape can be beneficial for various ankle injuries, including:
- Sprains
- Strains
- Tendonitis
- Plantar fasciitis
- Achilles tendon injuries
If you’re unsure whether kinesiology tape is suitable for your injury, consult with a healthcare professional before proceeding.
Choosing the RightTape
When selecting kinesiology tape, look for the following features:
- High-quality materials: Ensure the tape is made from a combination of cotton, spandex, and medical-grade adhesive.
- Water resistance: Choose a tape that is water-resistant so it stays in place during exercise and daily activities.
- Adequate stretch: Opt for a tape with a stretch range of 140-180% to provide proper support without limiting your range of motion.
- Hypoallergenic: If you have sensitive skin, look for a hypoallergenic tape to minimize the risk of irritation.
Preparing for Application
Before applying kinesiology tape to your ankle, follow these preparation steps:
- Clean the area: Ensure your skin is clean and free from oils, lotions, and dirt, which can interfere with the tape’s adhesion.
- Shave if necessary: Remove any hair from the area to ensure proper adhesion.
- Measure and cut the tape: Measure the required length of tape and cut it accordingly. Round the corners to prevent the tape from peeling off easily.
- Test for allergies: If you’ve never used kinesiology tape before, apply a small piece to your skin and wait 24 hours to check for any adverse reactions.
Step-by-Step Guide to Strapping an Ankle with Kinesiology Tape
Follow these steps to apply kinesiology tape to your injured ankle:
Step 1: Ankle dorsiflexion
- Sit in a comfortable position with your leg extended and your ankle in a dorsiflexed position (toes pointing upwards).
- This position will provide an optimal stretch on the muscles and ligaments, allowing the tape to be applied effectively.
Step 2: Anchor strip
- Cut a strip of tape approximately 4-6 inches in length.
- Peel off the backing from one end of the tape and apply it just above the ankle joint on the front of your shin.
- Smooth the tape down with your hand, ensuring that there are no wrinkles or creases.
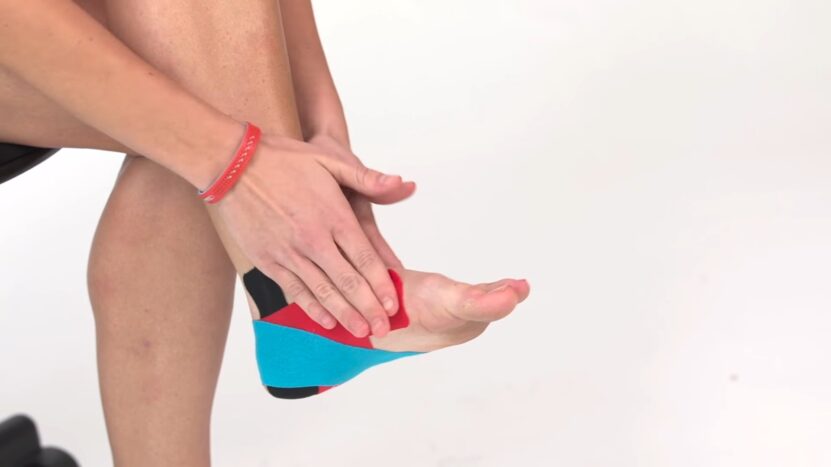
Step 3: Lateral support strip
- Cut another strip of tape approximately 10-12 inches in length.
- Peel off the backing from one end and anchor it on the outer side of your lower leg, just above the ankle bone.
- Gently stretch the tape and wrap it around your ankle, crossing over the top of your foot and ending at the inside of your ankle.
- Smooth the tape down as you apply it, ensuring there are no wrinkles or creases.
Step 4: Medial support strip
- Cut another strip of tape approximately 10-12 inches in length.
- Peel off the backing from one end and anchor it on the inner side of your lower leg, just above the ankle bone.
- Gently stretch the tape and wrap it around your ankle, crossing over the top of your foot and ending at the outside of your ankle.
- Smooth the tape down as you apply it, ensuring there are no wrinkles or creases.
Tips for Ensuring a Successful Application
- Apply the tape at least one hour before exercising or showering to allow the adhesive to bond properly to your skin.
- When applying the tape, gently stretch it to avoid excessive tension, which may limit your range of motion or cause discomfort.
- Rub the tape after application to activate the adhesive and ensure a secure bond to your skin.
- Avoid touching the adhesive side of the tape to prevent contamination and reduced adhesion.
Post-Application Care and Maintenance
- Kinesiology tape can be worn for 3-5 days, depending on your skin sensitivity and the quality of the application.
- Avoid using lotions, creams, or oils on the taped area, as they can interfere with the adhesive.
- When removing the tape, do so slowly and gently to minimize skin irritation.
- If you experience any itching, redness, or discomfort, remove the tape and consult a healthcare professional.
Frequently Asked Questions
1. Can I shower or swim with kinesiology tape on my ankle?
A: Yes, kinesiology tape is water-resistant and can be worn during showers and swimming. However, ensure the tape is applied correctly and allowed to bond for at least one hour before exposure to water.
2. How long should I wear kinesiology tape on my ankle?
A: It’s generally recommended to wear kinesiology tape for 3-5 days, depending on your skin sensitivity and the quality of the application. Consult with a healthcare professional for personalized guidance.
3. Can I apply kinesiology tape myself, or should I seek professional help?
A: While it’s possible to apply kinesiology tape yourself, it may be beneficial to consult a healthcare professional, such as a physical therapist or athletic trainer, for proper guidance and technique.
Final Words
Strapping an ankle with kinesiology tape is an effective way to support the joint, reduce pain, and promote healing. By following the step-by-step guide and tips provided in this comprehensive article, you can confidently apply kinesiology tape to your ankle and experience its numerous benefits. Remember to consult with a healthcare professional if you’re unsure about using kinesiology tape for your injury or need guidance on proper application techniques. Stay proactive in your recovery and enhance your performance by incorporating kinesiology tape into your injury management and prevention strategies.